Published
- 4 min read
Winterizing Your Trampoline: A Step-by-Step Guide to Preventing Snow Damage
Winterizing Your Trampoline: A Step-by-Step Guide to Preventing Snow Damage
For families in northern climates, the arrival of winter brings a critical question: “What do we do with the trampoline?” Leaving a massive steel and canvas structure exposed to blizzards, freezing rain, and sub-zero temperatures without preparation is the fastest way to ruin a $1,000 investment.
When heavy, wet snow accumulates on a trampoline mat, it creates an enormous static load. Unlike the dynamic load of a person jumping (which is temporary), static snow load applies constant, unrelenting tension to the springs and the mat fibers. Over a few weeks, the springs will permanently stretch, and the mat will sag irreversibly. Furthermore, trapped moisture accelerates frame rust.
In 2026, protecting your trampoline through the winter is easier than ever with the right gear and techniques. In this expert guide, I will walk you through the professional steps to winterize your backyard bounce zone, ensuring it survives the freeze and is ready for action the moment spring arrives.
1. The Full Disassembly Method (Safest for Heavy Snow)
If you live in a region that regularly receives heavy snow accumulations (like the Northeast or Midwest), the absolute safest method is partial disassembly.
What to Remove:
- The Safety Net: Winter winds and ice storms will shred the delicate mesh of an enclosure net. Remove the net, fold it neatly, and store it indoors.
- The Safety Pad: The foam inside the safety pad acts like a sponge. If it freezes, the cells burst, destroying its shock-absorbing capabilities. Take it off and store it.
- The Mat and Springs: This is the most crucial step. Use your spring puller to remove all the springs. Roll up the jumping mat. Place both the springs and the mat in a heavy-duty, rodent-proof plastic tote.
What to Leave Outside:
- The Frame: The heavy galvanized steel frame is perfectly safe to leave outside. In fact, disassembling the frame is usually more trouble than it’s worth. Just ensure any exposed joints are sprayed with a rust-preventative lubricant.
2. The “Cover and Clear” Method (For Mild Winters)
If you live in a milder climate where snow is infrequent or melts quickly, you can leave the trampoline fully assembled—but you must protect it.
Step 1: Install an All-Weather Cover
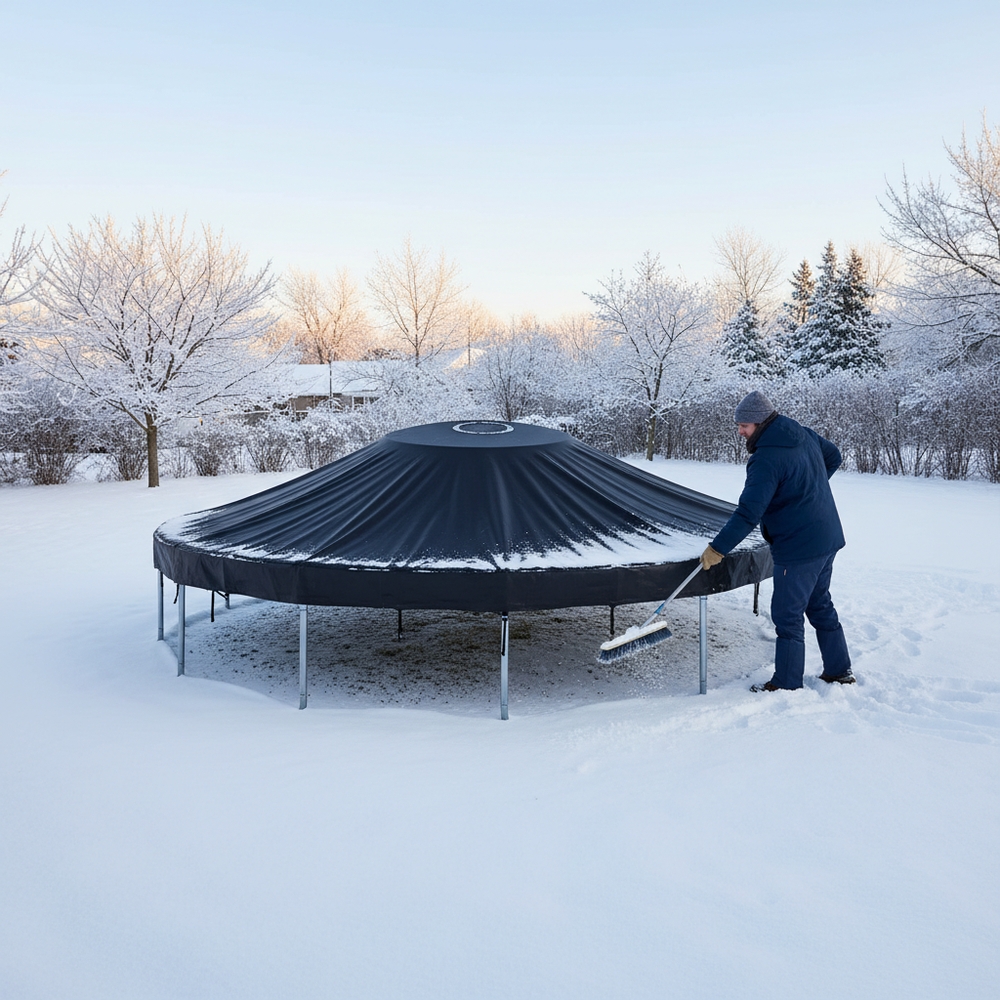
A weather cover protects the mat from UV rays on clear winter days and provides a barrier against ice and debris.
- Crucial Feature: You must buy a cover with a central drainage hole. Without drainage, melting snow will form a massive puddle in the center of the mat, adding hundreds of pounds of water weight.
- Affiliate Pick: Heavy Duty Trampoline Weather Cover with Drainage
Step 2: The Snow Sweeping Protocol
If it does snow, you cannot leave it sitting on the mat.
- The Tool: Use a soft-bristle push broom to sweep the snow off.
- The Warning: NEVER use a hard plastic or metal snow shovel. The cold makes the jumping mat brittle, and the sharp edge of a shovel will easily slice right through the fabric.
3. Rust Prevention: The Winter Shield
Moisture is the enemy of steel. Even if your frame is galvanized, the connection points (where the legs slide into the top rails) are vulnerable to rust.
- The Pre-Winter Treatment: Before the first freeze, inspect your frame. If you see any surface rust, scrub it with a wire brush. Then, spray every single joint and weld with a heavy-duty, water-displacing lubricant.
- Why it works: The lubricant repels moisture and prevents water from seeping into the microscopic cracks in the metal, stopping rust before it starts.
- Affiliate Pick: WD-40 Specialist Water Resistant Silicone Lubricant
4. Securing Against Winter Storms
Winter doesn’t just bring snow; it brings fierce, biting winds. Because the trees have lost their leaves, your backyard has less natural windbreak, making your trampoline more susceptible to blowing away.
- Double Down on Anchors: If you used 4 anchors during the summer, upgrade to 8 for the winter. Ensure they are the “auger” or “corkscrew” style that twists deep into the frozen ground.
- Affiliate Pick: Heavy Duty Trampoline Wind Anchor Kit (Set of 8)
Conclusion
Winterizing your trampoline requires an afternoon of effort, but it pays massive dividends. By removing delicate parts in heavy snow regions, utilizing high-quality covers, and aggressively preventing rust, you protect your family’s investment. When the spring thaw finally arrives, you won’t be shopping for expensive replacement parts—you’ll simply uncover your pristine trampoline and start bouncing.