Published
- 4 min read
Top 5 Trampoline Assembly Mistakes and How to Avoid Them
Top 5 Trampoline Assembly Mistakes and How to Avoid Them
Building a backyard trampoline is a rite of passage for many parents. You open the massive, heavy boxes, spread the metal pipes across the lawn, and prepare for a few hours of manual labor. However, trampoline assembly is highly unforgiving. A single mistake made in step two often doesn’t reveal itself until step ten, forcing you to completely disassemble the structure and start over.
More importantly, assembly errors don’t just cost you time—they cost you safety. An improperly tensioned mat or a poorly secured frame joint can lead to catastrophic failure while your children are playing.
As an expert who has overseen countless installations, I’ve seen the same errors repeated time and time again. In this guide, I will highlight the Top 5 most common trampoline assembly mistakes and provide the professional workarounds you need to build a safe, rock-solid bounce zone on your first try.
Mistake 1: Ignoring the “Cross-Pattern” Spring Technique
This is the number one reason people abandon their trampoline assembly in a fit of rage.
- The Error: Attaching the springs in a continuous circle (1, 2, 3, 4…). By the time you get halfway around, the tension on the remaining springs is so tight that it requires superhuman strength to pull them, and your mat becomes permanently warped.
- The Fix: You must distribute the tension evenly. Attach the springs at 12 o’clock, then 6 o’clock. Then 3 o’clock, then 9 o’clock. Then fill in the exact middles of those quadrants. Always work on opposite sides of the circle to keep the tension balanced.
Mistake 2: Building on Uneven Ground
A trampoline must be perfectly level. If one leg is lower than the others, gravity pulls the jumper toward the low side, creating a dangerous bouncing experience and putting immense stress on a single frame joint.
- The Error: Using bricks, blocks of wood, or folded cardboard to “prop up” a short leg. The vibration of jumping will instantly knock these props loose.
- The Fix: You must alter the earth, not the trampoline. Use a carpenter’s level on the top rail. If a side is high, dig a small trench for that specific leg to sink into until the frame is perfectly level.
Mistake 3: Tying the Safety Pad to the Springs
The safety pad (the foam ring that covers the springs) is crucial for preventing pinch injuries.
- The Error: Using the elastic ties under the pad to tie it directly to the metal springs. When the springs stretch during a bounce, they pull the pad with them, ripping the ties and exposing the metal.
- The Fix: The pad must “float” above the springs. Tie the elastic straps only to the outer metal frame and the inner V-rings of the mat (if your model allows). Never restrict the movement of the springs.
Mistake 4: Assembling the Enclosure Net Last
This mistake leads to dangerous gaps and a sloppy-looking trampoline.
- The Error: Setting up the entire trampoline, and then trying to figure out how the safety net attaches. Many modern nets are designed to be interwoven with the springs or slide over the poles before they are fully inserted.
- The Fix: Read the net instructions before you attach the jumping mat. On many premium models (like Zupapa’s “no-gap” design), the net is actually sewn into the mat, or the springs must pass through the bottom edge of the net.
- Affiliate Pick: Zupapa 15ft Saffun Trampoline (No-Gap Design)
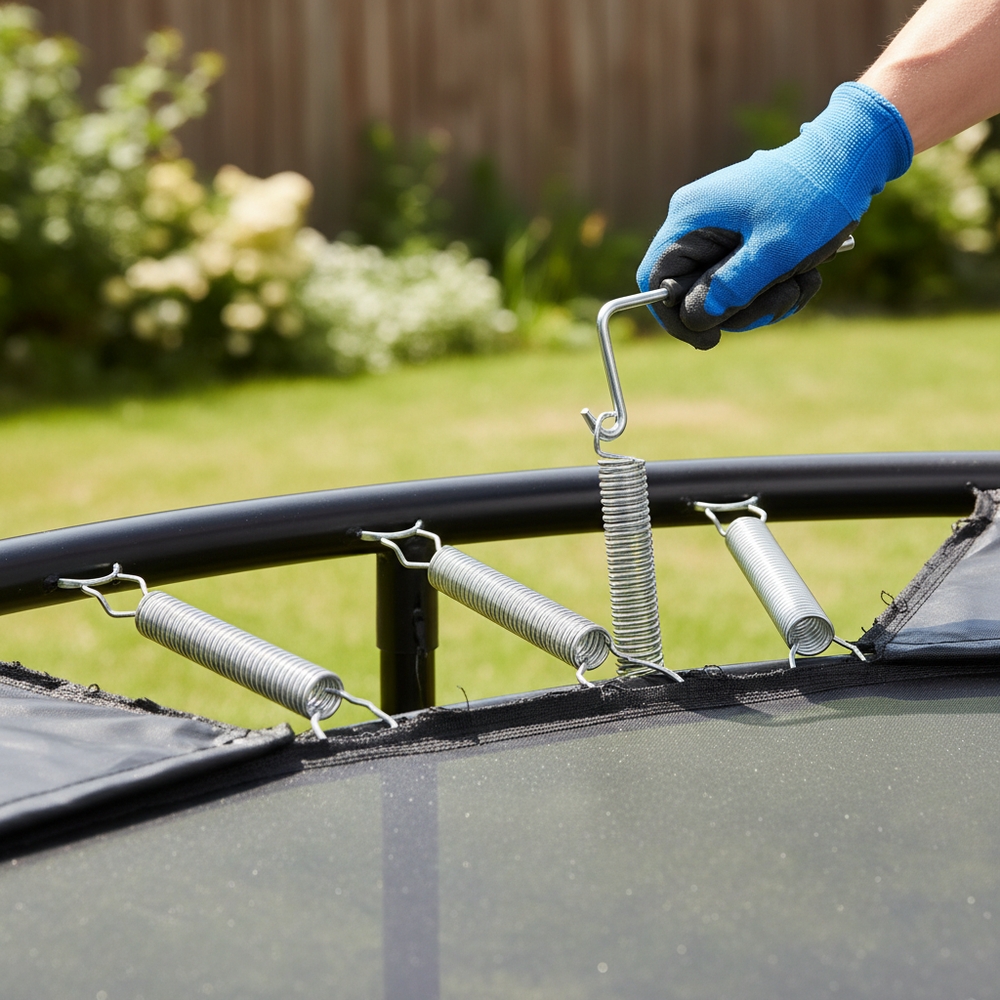
Mistake 5: Pulling Springs by Hand or with Pliers
This is a fast track to a severe hand injury. Pliers will slip off the slick metal hooks, causing you to punch the steel frame with full force.
- The Error: Using incorrect tools to stretch high-tension steel springs.
- The Fix: Always use a specialized T-Hook Spring Puller. The T-handle allows you to use your body weight (rather than arm strength) to pull the spring, and the hook shape ensures it won’t slip off the metal.
- Affiliate Pick: Heavy Duty Trampoline Spring Puller T-Hook
Conclusion
Assembling a trampoline is a test of patience, but it doesn’t have to be a nightmare. By understanding the physics of spring tension, prioritizing a level foundation, and reading the enclosure instructions early, you can build a flawless, incredibly safe structure. Take your time, use the right tools, and enjoy the satisfaction of a job perfectly done.